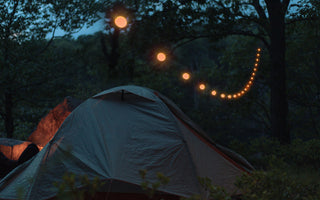
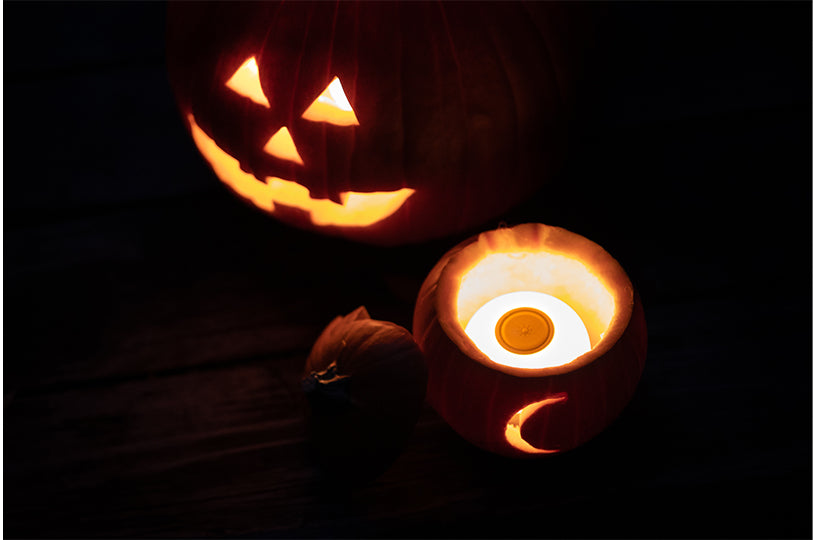
It's October and Halloween is fast approaching. Decorations are popping up around the neighborhood and your local supermarket likely has bins of pumpkins spilling out into the parking lot. Not in the mood to carve the biggest pumpkin in the patch? All you need is a small one and an AlpenGlow Mini to welcome trick-or-treaters to your porch this year.

Perks of ditching the candles for AlpenGlow Mini and choosing the smaller pumpkin:
- A small pumpkin is much easier to clean and carve.
- There's no safety concerns with AlpenGlow Mini. A single button allows for you and the kids to turn your lantern on and off each night.
- Candles need to breathe - Mini doesn't. Carve that intricate design you've always wanted to.
- With Horizon Mode and multiple lighting color options, you can make that goblin you're carving turn green.
- You'll use your AlpenGlow Mini all year long. Use the lantern as a night light on the 30th, to light your Jack-o-Lantern on the 31st, and then around the campsite on November 1st.
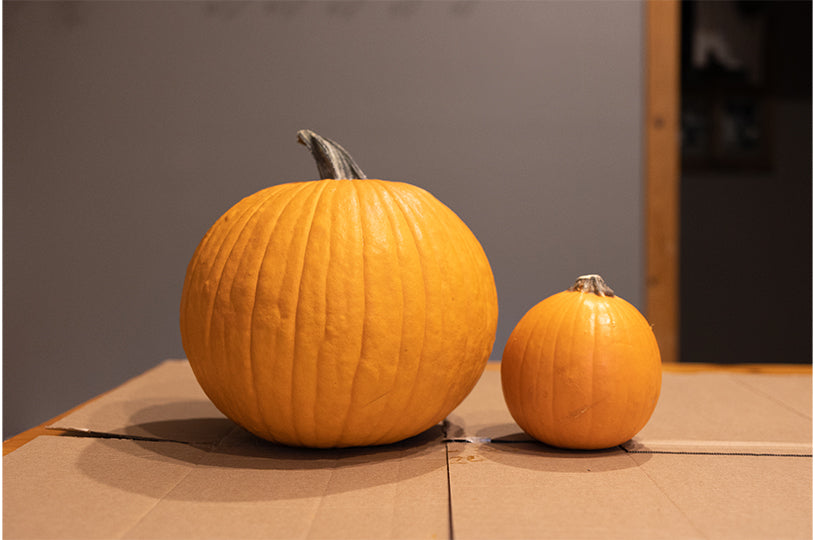
Step 1 - Choose Your Size
AlpenGlow Mini is bright enough to bring even the largest Jack-o-Lantern to life, while being small enough to fit into small ones.
Step 2 - Clean Your Pumpkin
Time to get messy. Remove the lid and scoop out the seeds and insides of the pumpkin to make room for your lantern.

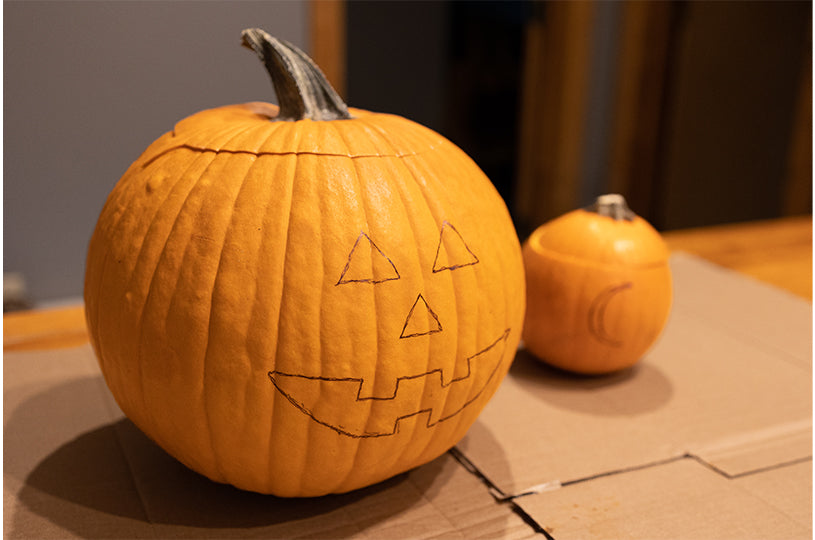
Step 3 - Pick Your Design
Sketch your design lightly with a pen (non permanent) before you start cutting. Change your mind? A little soap and water on a paper towel should give you a clean slate.
Step 4 - Carve Your Design
Slow and steady. Follow your sketched design and watch it come to life with each cut. Just like before, you can wash away those pen marks after if a few remain along the edges.
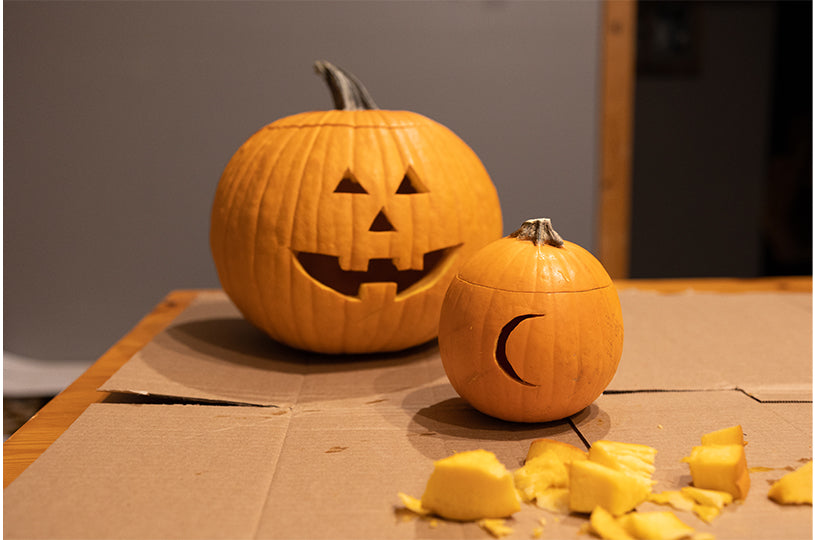
Step 5 - Light With Mini
Grab your AlpenGlow Mini, set it to the color mode you want, and place it in your lantern. Now step back and enjoy your masterpiece.
Looking for the feeling of a candle? AlpenGlow 250 and AlpenGlow 500 both include Candle Flicker Mode. To access, turn these lanterns to Warm White Mode and give a shake.
